




Many people will look at the title of this blog and ask “Why would I need to apply a primer to a wall?”, because most of the time we think of priming wood, metal or other surfaces like tiles or melamine that paint struggles to adhere to. But over my twenty years working as a professional decorator, I’ve come across many different scenarios were priming a wall (or parts of a wall) have been necessary.
Using a primer in these situations will help you achieve a better, more even overall finish, by helping your emulsion paint to adhere properly, blocking out stains or contaminants, sealing porous surfaces, reducing the number of coats of paint you need, and so on. In many situations you won’t need a primer for your walls, but in this blog we’re going to look at scenarios where a primer will help, and give you some specific recommendations of products that are designed for the job.
When Do I Need a Primer for a Wall?
If your walls are in good condition, already painted, and all you are looking to do is give them a refresh (without a dramatic change in colour), then you probably don’t need a primer.
But here’s a list of situations when you would probably benefit from applying a primer – in the broadest sense of the word – to your walls (or specific sections of the walls):
- New plaster (including lime plaster once it’s fully curerd)
- Bare plasterboard
- Previously wallpapered walls
- Stains (such as water stains, nicotine, crayon, grease, etc)
- Dramatic change of colour (especially going from a dark to a light colour)
- Fresh filler repairs
- Glossy surfaces

Primers for New Plaster and Bare Plasterboard
Why? New plaster and plasterboard are extremely porous and absorbent; they suck the moisture out of paint before it can dry naturally, leaving a thin layer of all the other ingredients on the surface like a film. Over time this will start to flake and peel, because it hasn’t had a chance to bond properly to the surface beneath. To overcome this, the wall needs to be primed to seal it – basically to cure its excessive thirst, so that subsequent coats of paint can dry naturally and adhere better.
What? There are so many answers to this question, many of which I disagree with! So, at the risk of getting lots of negative comments from other decorators, telling me I should be using PVA or contract matt or who knows what else, I’m taking the scientific approach and going with the advice of the scientists who develop the paint. So here are some options:
“Mist coat” with a thinned down coat of whatever your top coat will be. Thinning the paint down with clean water helps it to soak into the plaster better rather than just sitting on the surface. Most good quality trade emulsion paints will state on the tin (or on the Technical Data Sheet, available on the manufacturer’s website) the amount of water that you should add in this situation, taking the guesswork out of it. The added advantage is that you’re starting to build up the colour that you want, so you may need fewer coats to achieve your desired finish. So if, for example, you’re planning to use Crown Clean Extreme Scrubbable Matt on your newly plastered hall, simply thin down your first coat as directed on the tin. If you have new lime plaster, you need a paint that will allow the plaster to “breathe”, so something like Earthborn Clay Paint is ideal; again follow the manufacturer’s instructions and thin the first coat accordingly.
Use a specially developed wall primer. There are a few good ones on the market, and again, they have the added advantage of starting to build up your depth of colour as well as sealing the plaster. Optiva Primer from Tikkurila is great, and can be tinted to thousands of shades. If you feel it’s a bit thick you can thin it with up to 5% water.

If you are planning to wallpaper rather than paint your newly plastered wall, you still need to prime the wall, otherwise the plaster will suck the moisture out of the paste and cause all sorts of problems. You can prime the wall with either a coat of Zinsser Gardz primer, or something like Beeline Primer-Sealer, which is specially developed for sealing walls prior to wallpapering.


Primers for Previously Wallpapered Walls
Why? After you strip the wallpaper off, obviously you should clean the walls, and then make any repairs necessary to holes, cracks etc in the plaster. The filler you use to repair the cracks will be more absorbent than the rest of the walls, so ideally needs to be primed. But more importantly, there could be traces of wallpaper paste left on the walls, which could react with the paint when it is applied.
What? A coat of Zinsser Gardz will seal this paste, meaning that the wall can then be safely painted without having to worry about the paste reacting with the paint. However, please note that Gardz isn’t “breathable”, so shouldn’t be used on lime plaster – I guess in that situation the only solution is elbow grease, making sure you clean the walls really thoroughly to remove all the paste.
Primers for Stains
Why? Most of the most common types of stains – water marks, nicotine, lipstick, blu-tack, grease, etc – will either resist paint adhering to them (because they are to some extent water-resistant), or will bleed back through your emulsion. They need to be treated with a stain-blocking primer first, to overcome these issues.
What? After cleaning as much of the stain off as possible, in most cases a coat of a shellac-based primer,such as Smith & Rodger Blockade, will block the stain and stop it from coming back through to ruin your emulsion. Alternatively, Johnstone’s Trade StainAway Matt contains stain-blockers, so will cover things like smoke marks, nicotine and water marks without the need for a separate primer. It can be tinted to your chosen colour, and can be applied to new plaster (appropriately thinned) as well as previously painted walls and ceilings.

Primers for a Dramatic Change of Colour
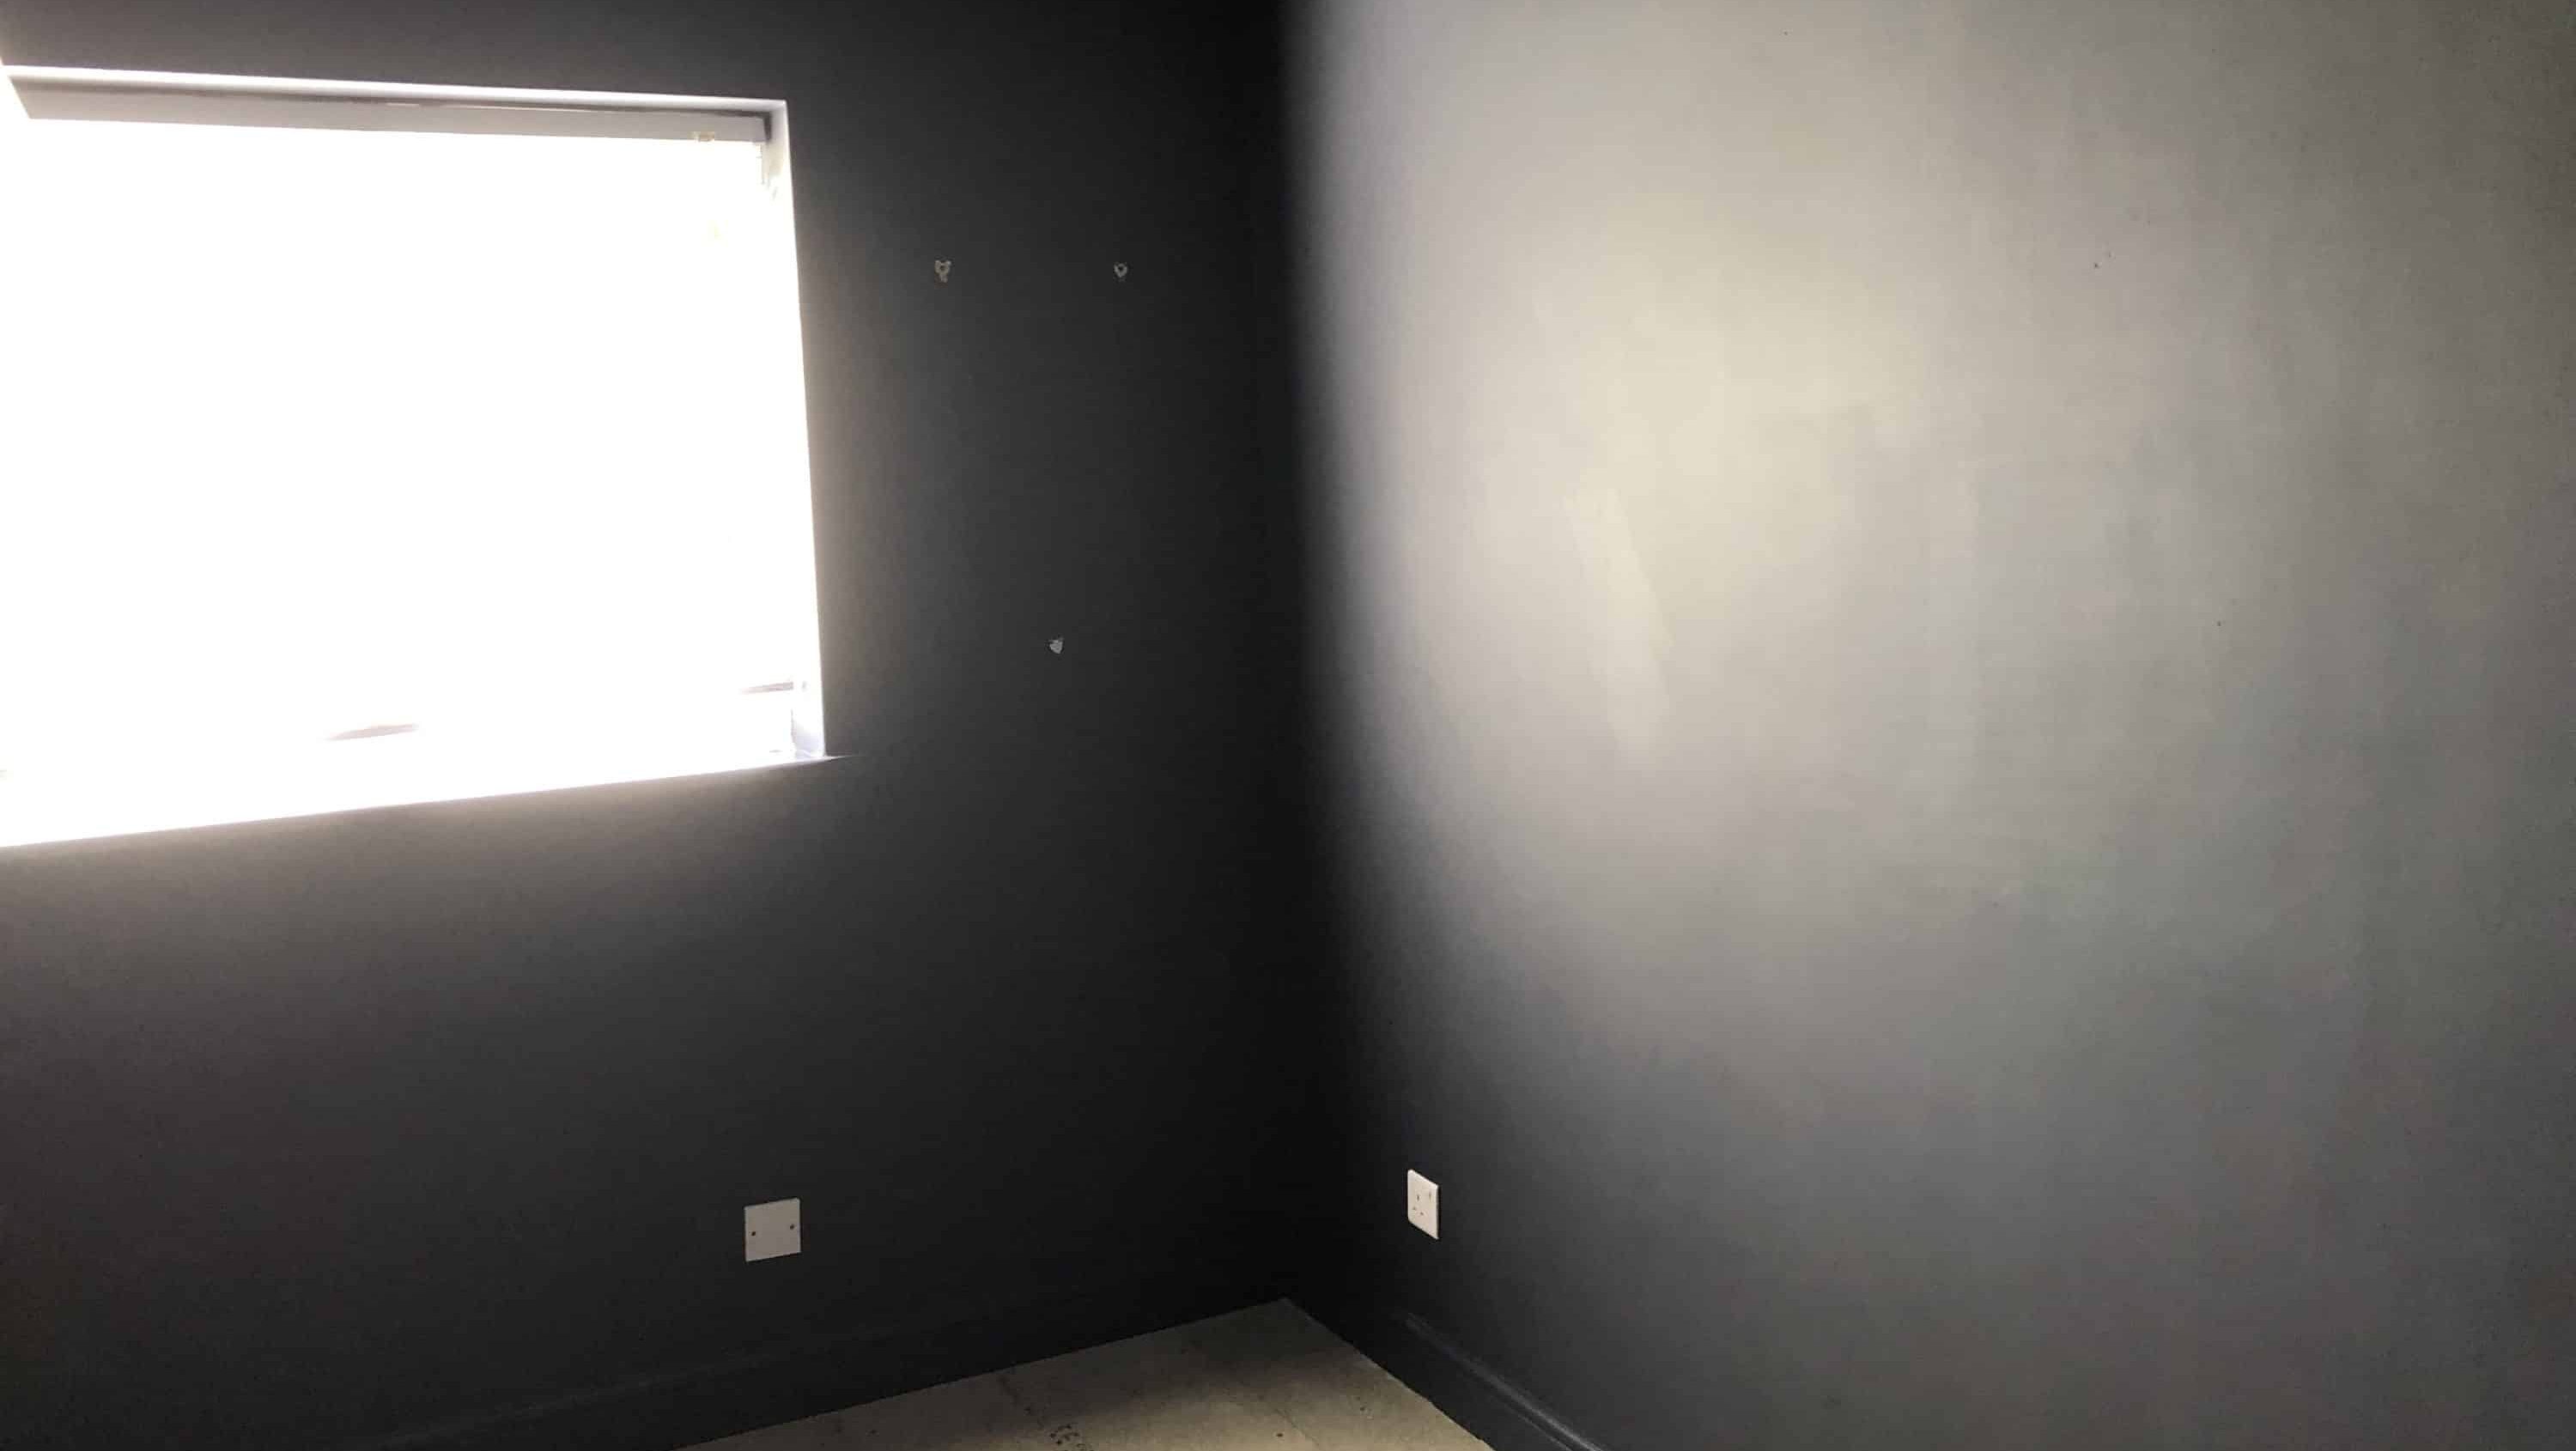
Why? The previous owner’s teenage son insisted on colour drenching his bedroom in midnight blue. It’s going to be your new home office, and you fancy a really pale grey. How many coats is that going to take?!
What? A coat of either Tikkurila Optiva Primer (as mentioned above), or Farrow & Ball Wall & Ceiling Primer, will make a significant step in the right direction, without having to use up more of your expensive top coat. Another option would be a coat of the recently launched Johnstone’s Trade Obliterate Matt – I’ve tried it over midnight blue, and I was impressed!


Primers for Fresh Filler Repairs
Why? Like new plaster, fresh filler is highly absorbent, more so than the existing (already painted) plaster around the repair. This difference in porosity means that the filler will absorb the paint in a different way to the rest of the wall, and if you just paint over it the repair will be visible (will “flash”) from certain angles or in certain lights.
What? Just like on bare plaster, the answer is to mix up a small amount of your top coat paint with a splash of water in a paint kettle. Once you’ve sanded down all your repairs, wipe them with a damp cloth to remove any dust, and then just paint over the repairs with a coat of this slightly thinned paint. Allow to dry, and then paint the wall with two full coats as normal. This is known as “spot priming”.
Primers for Glossy Surfaces
Why? It’s not a common problem on walls, but occasionally you find some comedian who fancied painting their coving with gloss. Gloss paints have a very smooth surface, which ordinary emulsions struggle to adhere to.
What? An adhesion primer is what’s needed. These products only have one job – to stick like glue to difficult surfaces like glazed tiles, melamine, varnish…and gloss paint. Give the area a good sand first to “rough up” the surface, and then apply a coat of adhesion primer, like Crown Trade PX4. It’ll dry in no time, and stick like glue, and then your top-coat will adhere properly.

Final Thoughts
As I said earlier on in this blog, most of the time you probably won’t need to use a primer on your walls. But there are plenty of situations where a primer – in the broadest sense of the word – is going to be needed to help you achieve an even, consistent finish that adheres properly to the wall. Hopefully my thoughts above will help point you in the right direction if you’re wondering which is the best sort of primer for your particular walls.











0 Comments