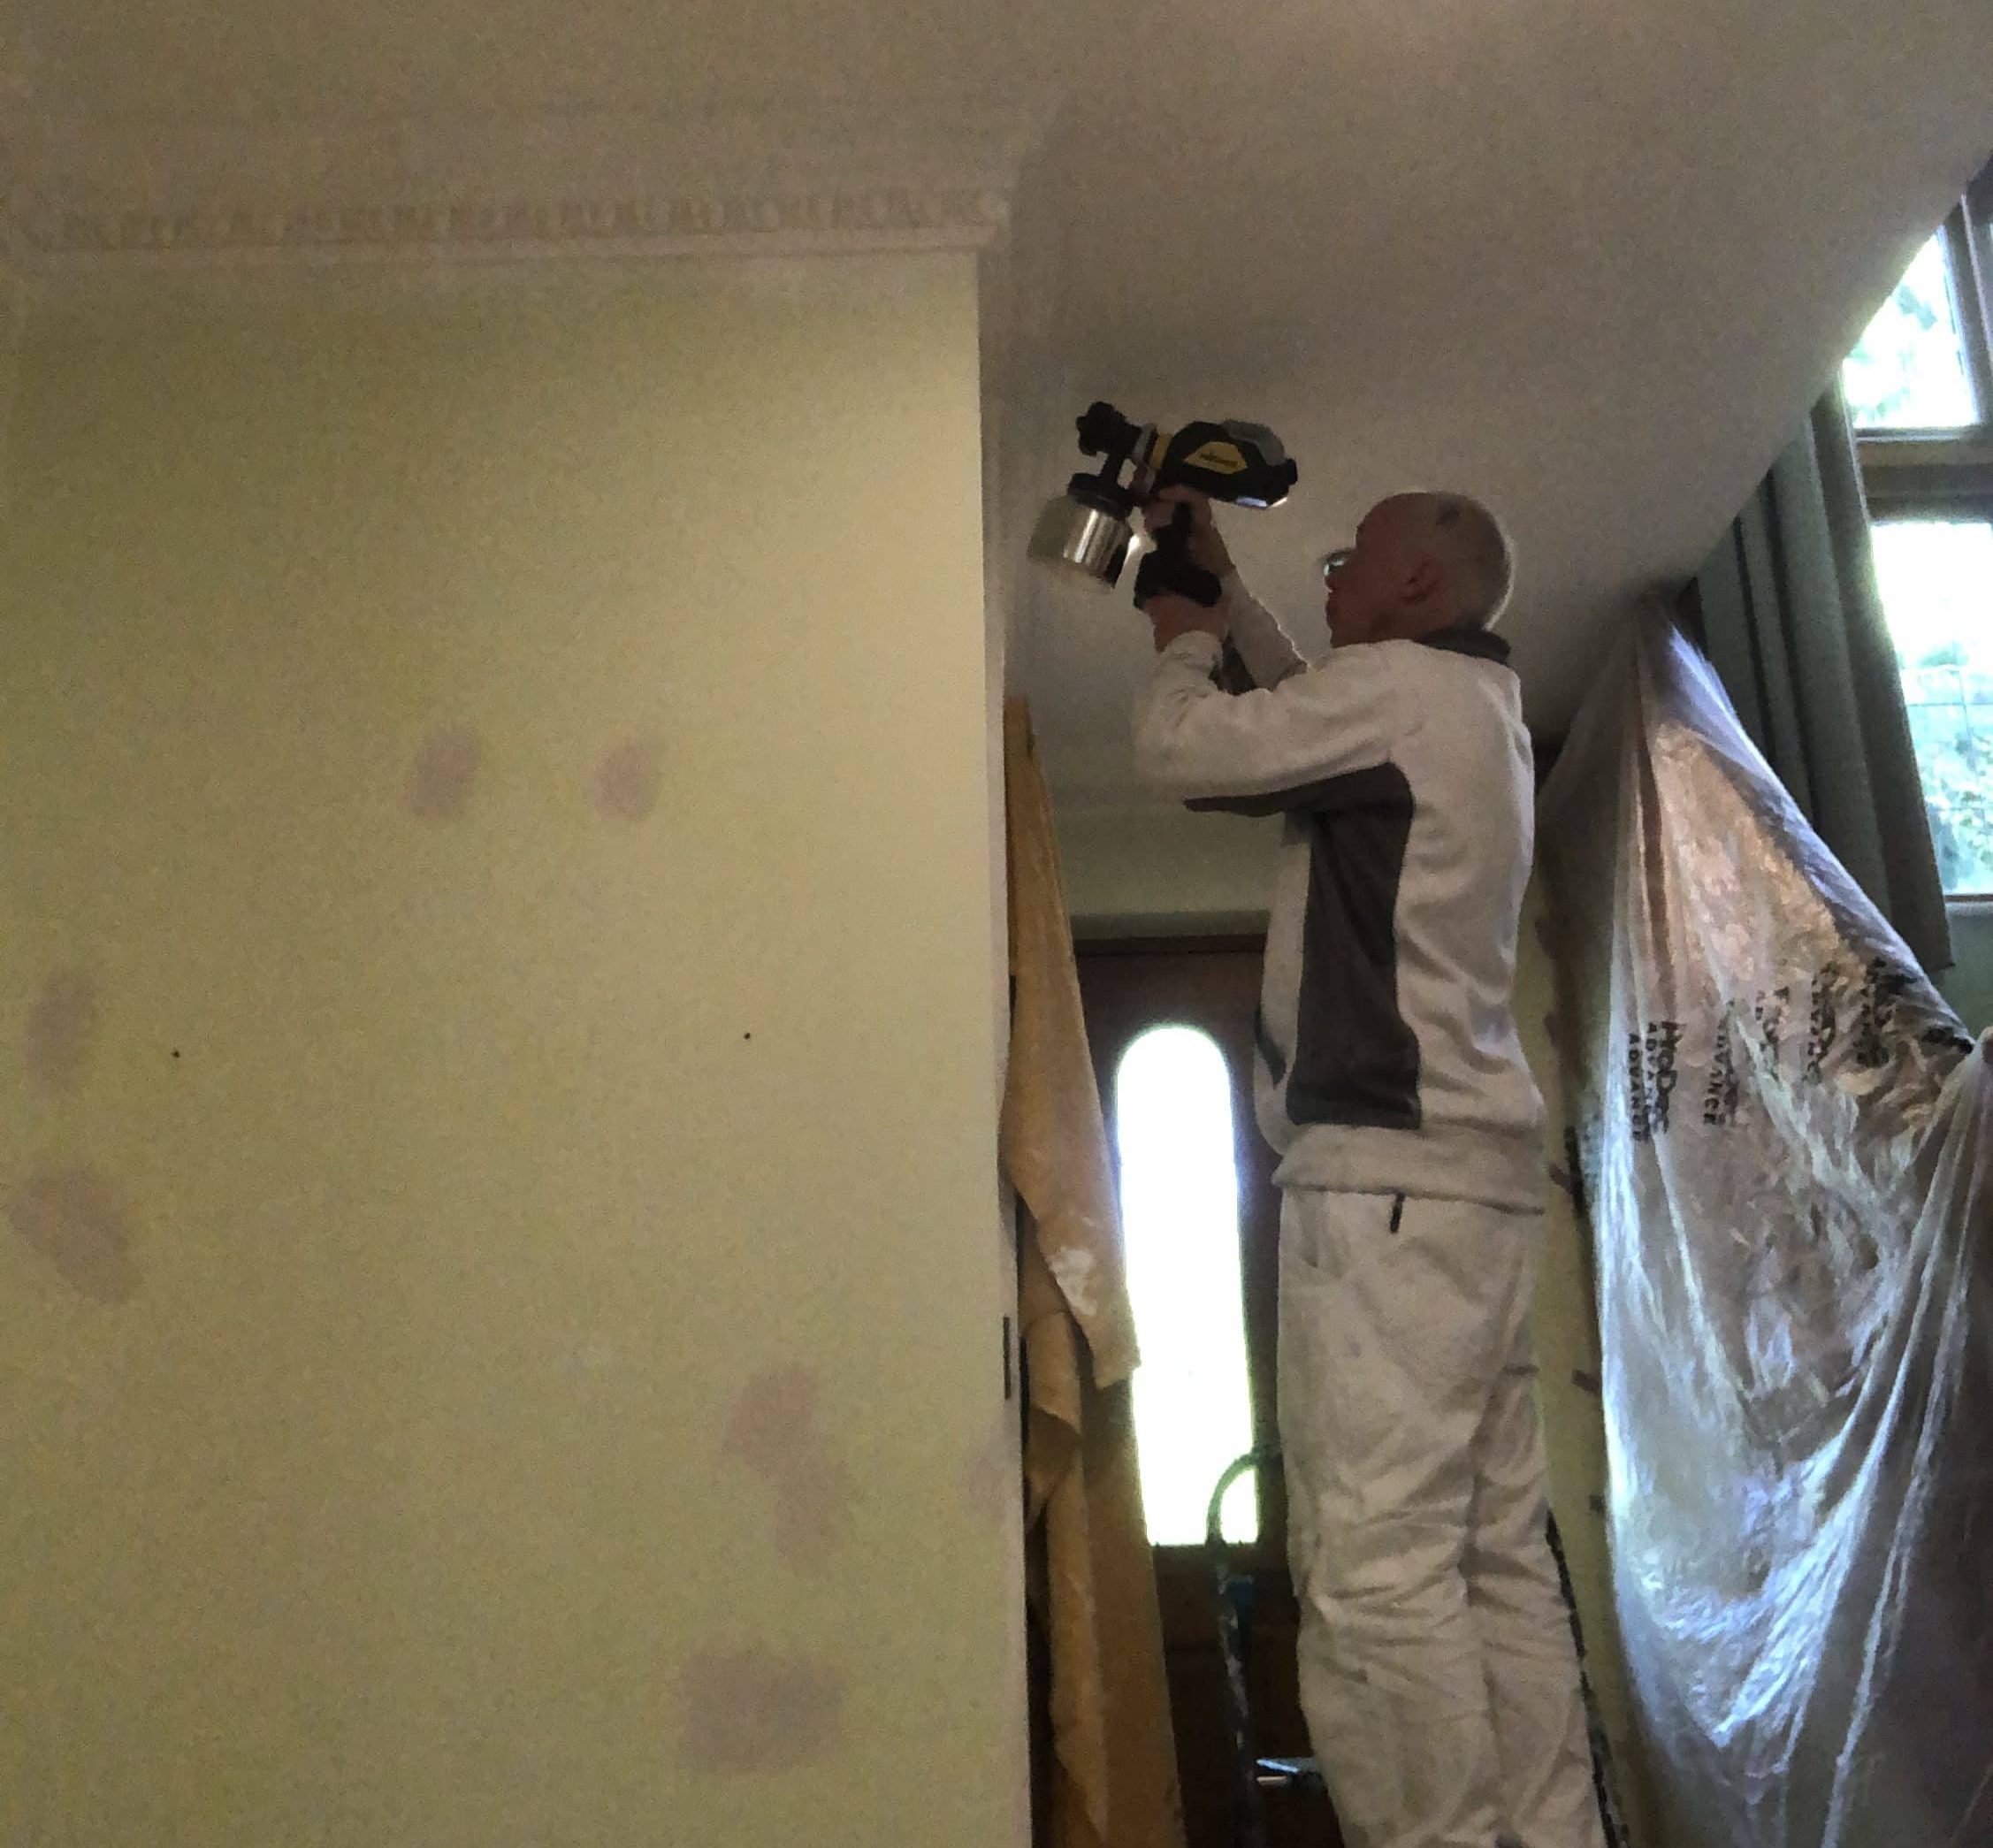
Think of cornice as a more intricate, elaborate form of coving. Like coving, it’s a decorative feature that “bridges the gap” between the walls and the ceiling in a room. It is usually made of plaster, occasionally from polystyrene, and sometimes even from wood.
While painting regular coving is fairly straightforward, painting intricate cornice with a brush is time-consuming and tricky – you have to take great care ensuring the cornice is thoroughly and evenly coated without missing bits or overloading certain areas, leading to drips.
As a result, when I come across cornice to paint in my role as a professional decorator, I know spray paint it for a faster job and a more even coverage. It’s not difficult to do if you have the right equipment (if you don’t, you can hire spray equipment from Airblast Eurospray by clicking here. They will advise you on the best machine to use, and arrange delivery/collection for you), and in this blog I’ll talk you through what you need, and how to achieve a professional finish.
Tools and Equipment Needed
- Dust sheets (or other floor protection)
- Masking tape and masking film
- Steps to enable you to reach the cornice safely
- Filler, decorator’s caulk and sandpaper
- Dusting brush and/or vacuum cleaner with soft brush attachment
- Paint
- Spray machine – airless or HVLP/XVLP
- PPE – mask and goggles
How To Spray Paint Cornice – Step-By-Step Guide
Prepare the area
Remove as much furniture etc as you can from the room. Anything that can’t be removed is best moved into the centre of the room (away from the cornice). Cover the floor (and any remaining furniture) with dust sheets.
Mask up any nearby doors/door frames and windows using masking film. If you are spraying the cornice a different colour to the adjacent wall or ceiling, and they’re already painted, you’ll need to mask them up too.
Inspect the cornice for any damage
If there are small gaps between the cornice and the wall or ceiling, fill these with decorator’s caulk (which is flexible and so less likely to crack if there is any minor movement).
Cracks in the cornice itself (or at any joints) should be raked out and filled with a suitable filler such as Gyproc EasiFill – leave the filler as flush as possible, so that you don’t need to do a lot of sanding once it has cured. Sand away any loose or flaky paint.
Clean
Once your filler has cured and been gently sanded smooth, you need to thoroughly clean the cornice. Because it’s so intricate, this isn’t always easy, but you need to make sure dust, cobwebs etc are removed with a dusting brush and/or a vacuum with a soft brush attachment.
If there are greasy or nicotine deposits, thorough cleaning with sugar soap or a degreaser (such as Zinsser’s Universal Degreaser and Cleaner) may be needed, possibly followed by a suitable stain-blocking paint.
Set up your spray machine and prepare the paint
Follow the manufacturer’s instructions to ensure your spray machine is set up correctly. Dilute your paint (if necessary) to the right consistency using cool, clean water. Spray a test patch on a sheet of cardboard to make sure everything is working properly, you have the right fan size, etc
Spray your cornice
I can’t give detailed instructions, because every spray machine will be different, but here are a few general principals. Follow the manufacturer’s instructions, especially with things like how close to hold the gun to the cornice.
It’s always best to apply thin, even coats; I’d rather apply three thin even coats than two thick ones and end up with drips and runs. Always make sure your hand is moving the gun before you pull the trigger, otherwise you will spray too much paint in one small area.
Make sure you coat the top and bottom edges. Work side to side, working your way around the room. By the time you get round you’ll be fine to apply the next coat. Always wear your mask when spraying, and ventilate the room well afterwards.

Clean-Up
Once you are sure your cornice is thoroughly painted, carefully remove any masking tape. Clean the spray machine thoroughly in accordance with the manufacturer’s instructions, as soon as possible after use. Tidy away your tools, materials and dust sheets etc.
Final Thoughts
While it’s easy enough to paint regular coving with a brush, for intricate cornice I would definitely recommend spraying – it will save you so much time and give a great finish.
Just make sure the cornice is thoroughly cleaned first, to aid paint adhesion. If you’ve never sprayed before, consider booking yourself on an introductory course at Dulux Academy (I’ve done this course and really recommend it, and it won’t break the bank!). Click here for more details on dulux Academy. And maybe hire a spray set-up for your first job if you’re not sure about spending a lot of money on a new machine. But for cornice, spraying is definitely the way to go!
FAQs
Do I need to prime cornice before spraying?
Previously painted coving only needs to be primed if the existing paint is oil-based. New cornice should be treated in a similar way to bare plaster — this means applying a ‘mist coat’ before going over with your topcoats.
What spray tip size should I use on cornice?
A small tip is ideal for spraying cornice. It might take you a little longer, but you’ll find it easier to get the paint to coat the entire profile of the cornice, and you’ll have much less overspray.
Can I spray cornice without messing up the ceiling or walls?
Yes, by masking off with tape and film — but it isn’t easy. The best order to paint is cornice first, then ceiling, and finally walls. That way you can cut in to your cornice after you’ve painted it.
How many coats will I need?
Two coats will normally do the trick, but three thin coats are better than two thick ones.
Is spraying safe for intricate or ornate cornice work?
Definitely. You’re less likely to damage cornice with a sprayer than you are with a brush.


0 Comments