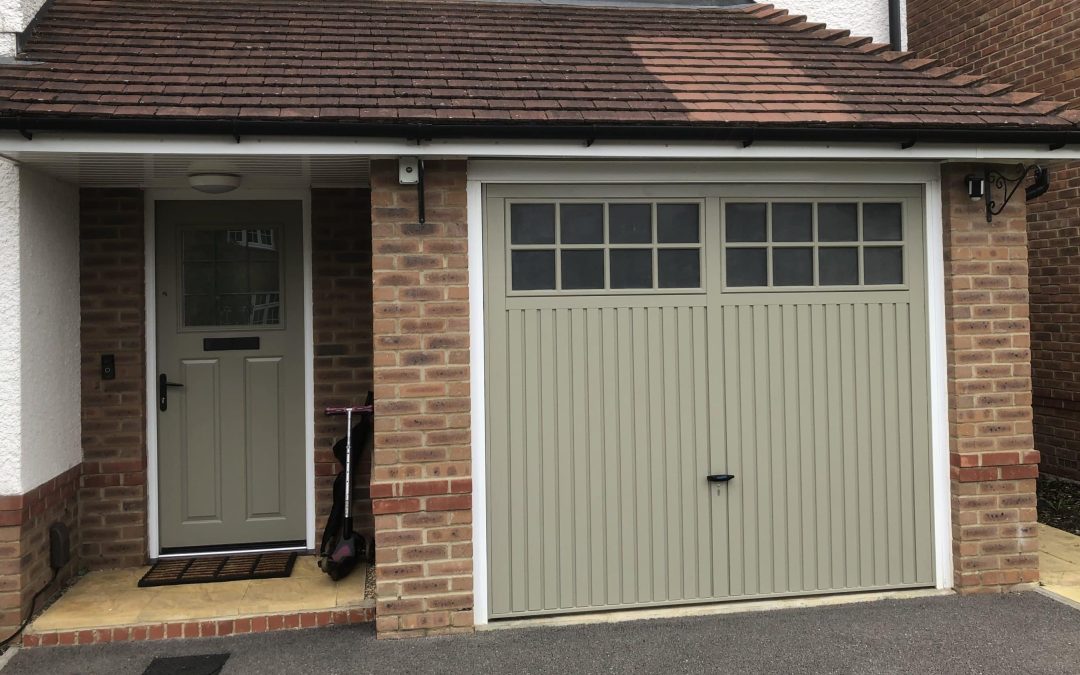
Rendered exteriors are popular now; where I live, I’m seeing a lot of new build properties, and older houses having a “facelift”, with render on the outside walls. It allows homeowners to create a clean, modern look, but also inject a bit of personality by painting it different colours.
Unlike plain bricks and mortar though, painted exterior walls (whether rendered or just painted brick) require more regular maintenance to keep them looking good. Even if there are no cracks to fill in the surface of the render or bricks, the walls will need regular painting every few years. But before you shoot up a ladder, paintbrush in hand, there’s another vital step to take before you can apply any paint to your exterior walls.
In my job as a professional painter and decorator, I often find that it’s the unglamorous, unpopular parts of the process that can make the biggest difference between a successful job and a minor disaster.
Making sure the render/masonry is thoroughly clean, before you even think about opening a tub of paint, can make a massive difference. The outsides of buildings get coated by dust, dirt and pollution, blown by the wind, or “washed” out of the atmosphere by rain.

Then they get covered in spiders’ webs and bird droppings. As if that isn’t enough, algae, lichen and moss can start growing on the wall. Not only do these contaminants look unsightly, but they can also cause damage to the render or masonry if left unchecked.
And from a painter’s point of view, they do nothing to help the next coat of paint to adhere properly to the surface – quite the opposite. So, one of the most important stages when painting external walls is to make sure they are thoroughly clean and free of contaminants first.
Fortunately, this is not a difficult or expensive job. In this blog we’ll take you through the key steps in the process, which will ensure your new paint job will have a far better chance of looking good for longer.
Why Clean Render Before Painting?
Every decorator will tell you that “it’s all in the prep” – a key part of that prep is making sure the surface you are going to paint is free from contaminants like dust, pollution and algae.
If the surface isn’t clean, the new paint won’t adhere effectively to it; instead, it will start to peel, and the lifespan of the paint job will be shortened, meaning more frequent maintenance. So, saving a few pounds by skipping this stage is a false economy. Not only that, but peeling paint looks awful, and can compromise the protection that the paint is supposed to be giving to the building, allowing moisture in. So thorough cleaning and removal of algae, moss and lichen from your exterior walls is really important for both aesthetic and practical reasons.
Tools and Materials you will need for Cleaning Render and Masonry
- Access equipment if working at height (ladders, scaffolding or cherry picker) – always choose the safest option
- Stiff brush/ scraper
- Pressure washer
- Fungicidal Wash
- Brush and bucket, or hand-held sprayer (for applying the fungicidal wash)
- PPE (disposable gloves, eye protection)

Step-by-Step Guide
It’s best to carry out this job in Spring or Summer, shortly before painting the walls in question. It’s important to apply the fungicidal wash on a day when no rain is forecast, so that it isn’t washed away before it can do its job.
The exact step-by-step process for cleaning render and masonry will depend on the brand of fungicidal wash you are using – some need to be rinsed off before painting, whereas others are “no rinse formulas”, and are left on to evaporate naturally.
The steps are the same but carried out in a different order. Read the instructions on your fungicidal wash carefully to determine what order it is best to carry out the following steps. I recently completed a job using GK Concentrated Fungicidal Solution, which is one of the “no rinse” types. This is probably the best fungicidal wash I’ve used to date, and one that I can wholeheartedly recommend. The following example is based on the process I followed using that specific product:
Check Access Equipment
If using, check over your access equipment to ensure it is sound, properly installed/positioned etc.
Brush or Scrape the Surface
Using a stiff brush and scraper (depending on how bad it is), remove larger deposits of dirt, algae, lichen or moss. Scrape away any loose/flaky paint at the same time (these areas will need to be treated later with stabilising solution – we cover this in more detail in a separate blog on “How to Paint Render”).

Wash Down the Walls
If your issue is just algae related, then you can skip this step. You can do this with a pressure washer, but care should be taken not to set the pressure too high, as this risks damaging the render and/or existing paint.
This is true for both older properties (where the render may not be as sound as it once was), and newer ones (where some modern types of renders don’t stand up to pressure washing so well) – so try on a small area on low pressure first.
The advantage of using a pressure washer is that it is a quick, thorough and easy way to remove all remaining dust and dirt. The downside is that it will saturate the existing paint/render, meaning that you may have to wait for a few days for it to dry out. Alternatively, you can use a bucket of mild detergent solution and a scrubbing brush.
Treat Algae
Now is the time to apply your fungicidal solution (if you’re using one of the “no rinse” ones). Put on your PPE (you don’t really want this stuff on your skin or in your eyes) and dilute as per the instructions on the packaging.
I find it easiest to mix it up in a bucket; from there, you can either apply it with a brush or decant it into a hand-held sprayer (one of those garden ones for spraying the weeds is good) and apply to the affected areas that way.
Make sure you protect/cover any nearby plants, and if any of them are splashed with the solution, rinse it off immediately with clean water. Allow it to dry/evaporate naturally. For particularly badly affected areas, a second application may be necessary the following day.
If you are using a fungicidal wash of the type that needs to be rinsed off, simply switch steps 3 and 4 round, following the manufacturer’s instructions on how long the product should be left before rinsing.

Allow to Dry
In either case, leave the walls to dry thoroughly before painting. During this time, if you haven’t already done so, you can make any repairs to cracks/holes/gaps in the render/masonry using an appropriate filler (this is covered in more detail in our separate blog on “How to Repair and Fill Rendered Walls”) and apply stabilising solution to any areas of flaky or chalky paint.
Once the walls have dried out and any filler has properly cured, your walls are now ready for painting – the prep may have taken a few extra hours, but it will save you time and effort in the long run, and your new paint should stay looking its best for longer.
How to Prevent Painted Render from Becoming Dirty Again
There are a couple of things you can do that will keep your newly painted render looking good for longer. I’ll take you through these now.
Use a Hydrophobic Paint
A lot of masonry paints describe themselves as “self-cleaning”, but I absolutely hate this term. Instead, opt for a hydrophobic paint like Emperor Masonry Paint.
“Hydrophobic” just means it repels water once cured. You can see water beading up and running off it, meaning the walls are dryer for longer, and dirt in the water is less likely to stick to the wall.
Moreover, any dirt that gets stuck to the wall (say for example if a muddy football hits the wall), that mud is likely to be washed away the next time it rains, rather than staying put.
Algae is less likely to grow on a wall painted with hydrophobic paint too (although there are no guarantees it’ll never come back). Emperor Masonry Paint has other benefits. Click here to visit their website.

Use Fungicidal Wash
Masonry paint contains a lot of fungicide, but it becomes less effective once the paint has cured. If you see algae returning, say a year or two after you’ve painted, there’s nothing wrong with applying GK Concentrated Fungicidal Solution again.
The fungicide doesn’t damage the paint, and the salts from the solution will stay on your walls for a long period afterwards. As mentioned above, you don’t need to rinse GK Concentrated Fungicidal Solution after applying it. Just get it on, and the algae will disappear overnight. Click here to see product details.

FAQs
Can I just paint over dirt/dust/algae etc?
Well, you can, but I really wouldn’t recommend it! Doing this, you are significantly reducing the chances of your paint adhering properly to the surface, so the chances are that it will be flaking and peeling off before you know it. And even if it doesn’t start to peel, stains could start to bleed back through the paint, so in next-to-no-time your exterior walls will be looking worse than they did to start with.
Do I need to rinse off the fungicidal wash after applying it?
It depends on the brand of fungicidal wash – some need to be rinsed off, others are “no rinse” formulations. Always read the manufacturer’s instructions carefully, and that should give you all the information you need.
Is pressure-washing enough to get rid of algae?
In many cases, where the problem is quite “mild”, it probably is. For more severe infestations (or a “belt and braces” job), fungicidal wash will help to do a more thorough, long-lasting job.


0 Comments