


Painting fences is perhaps not top of the list of most exciting or glamorous jobs I’ve been asked to do in my time as a professional decorator. It’s not difficult to do – quite the opposite really – but the one stage that most homeowners/DIY enthusiasts miss out is making sure that the fence is properly cleaned before they start painting.
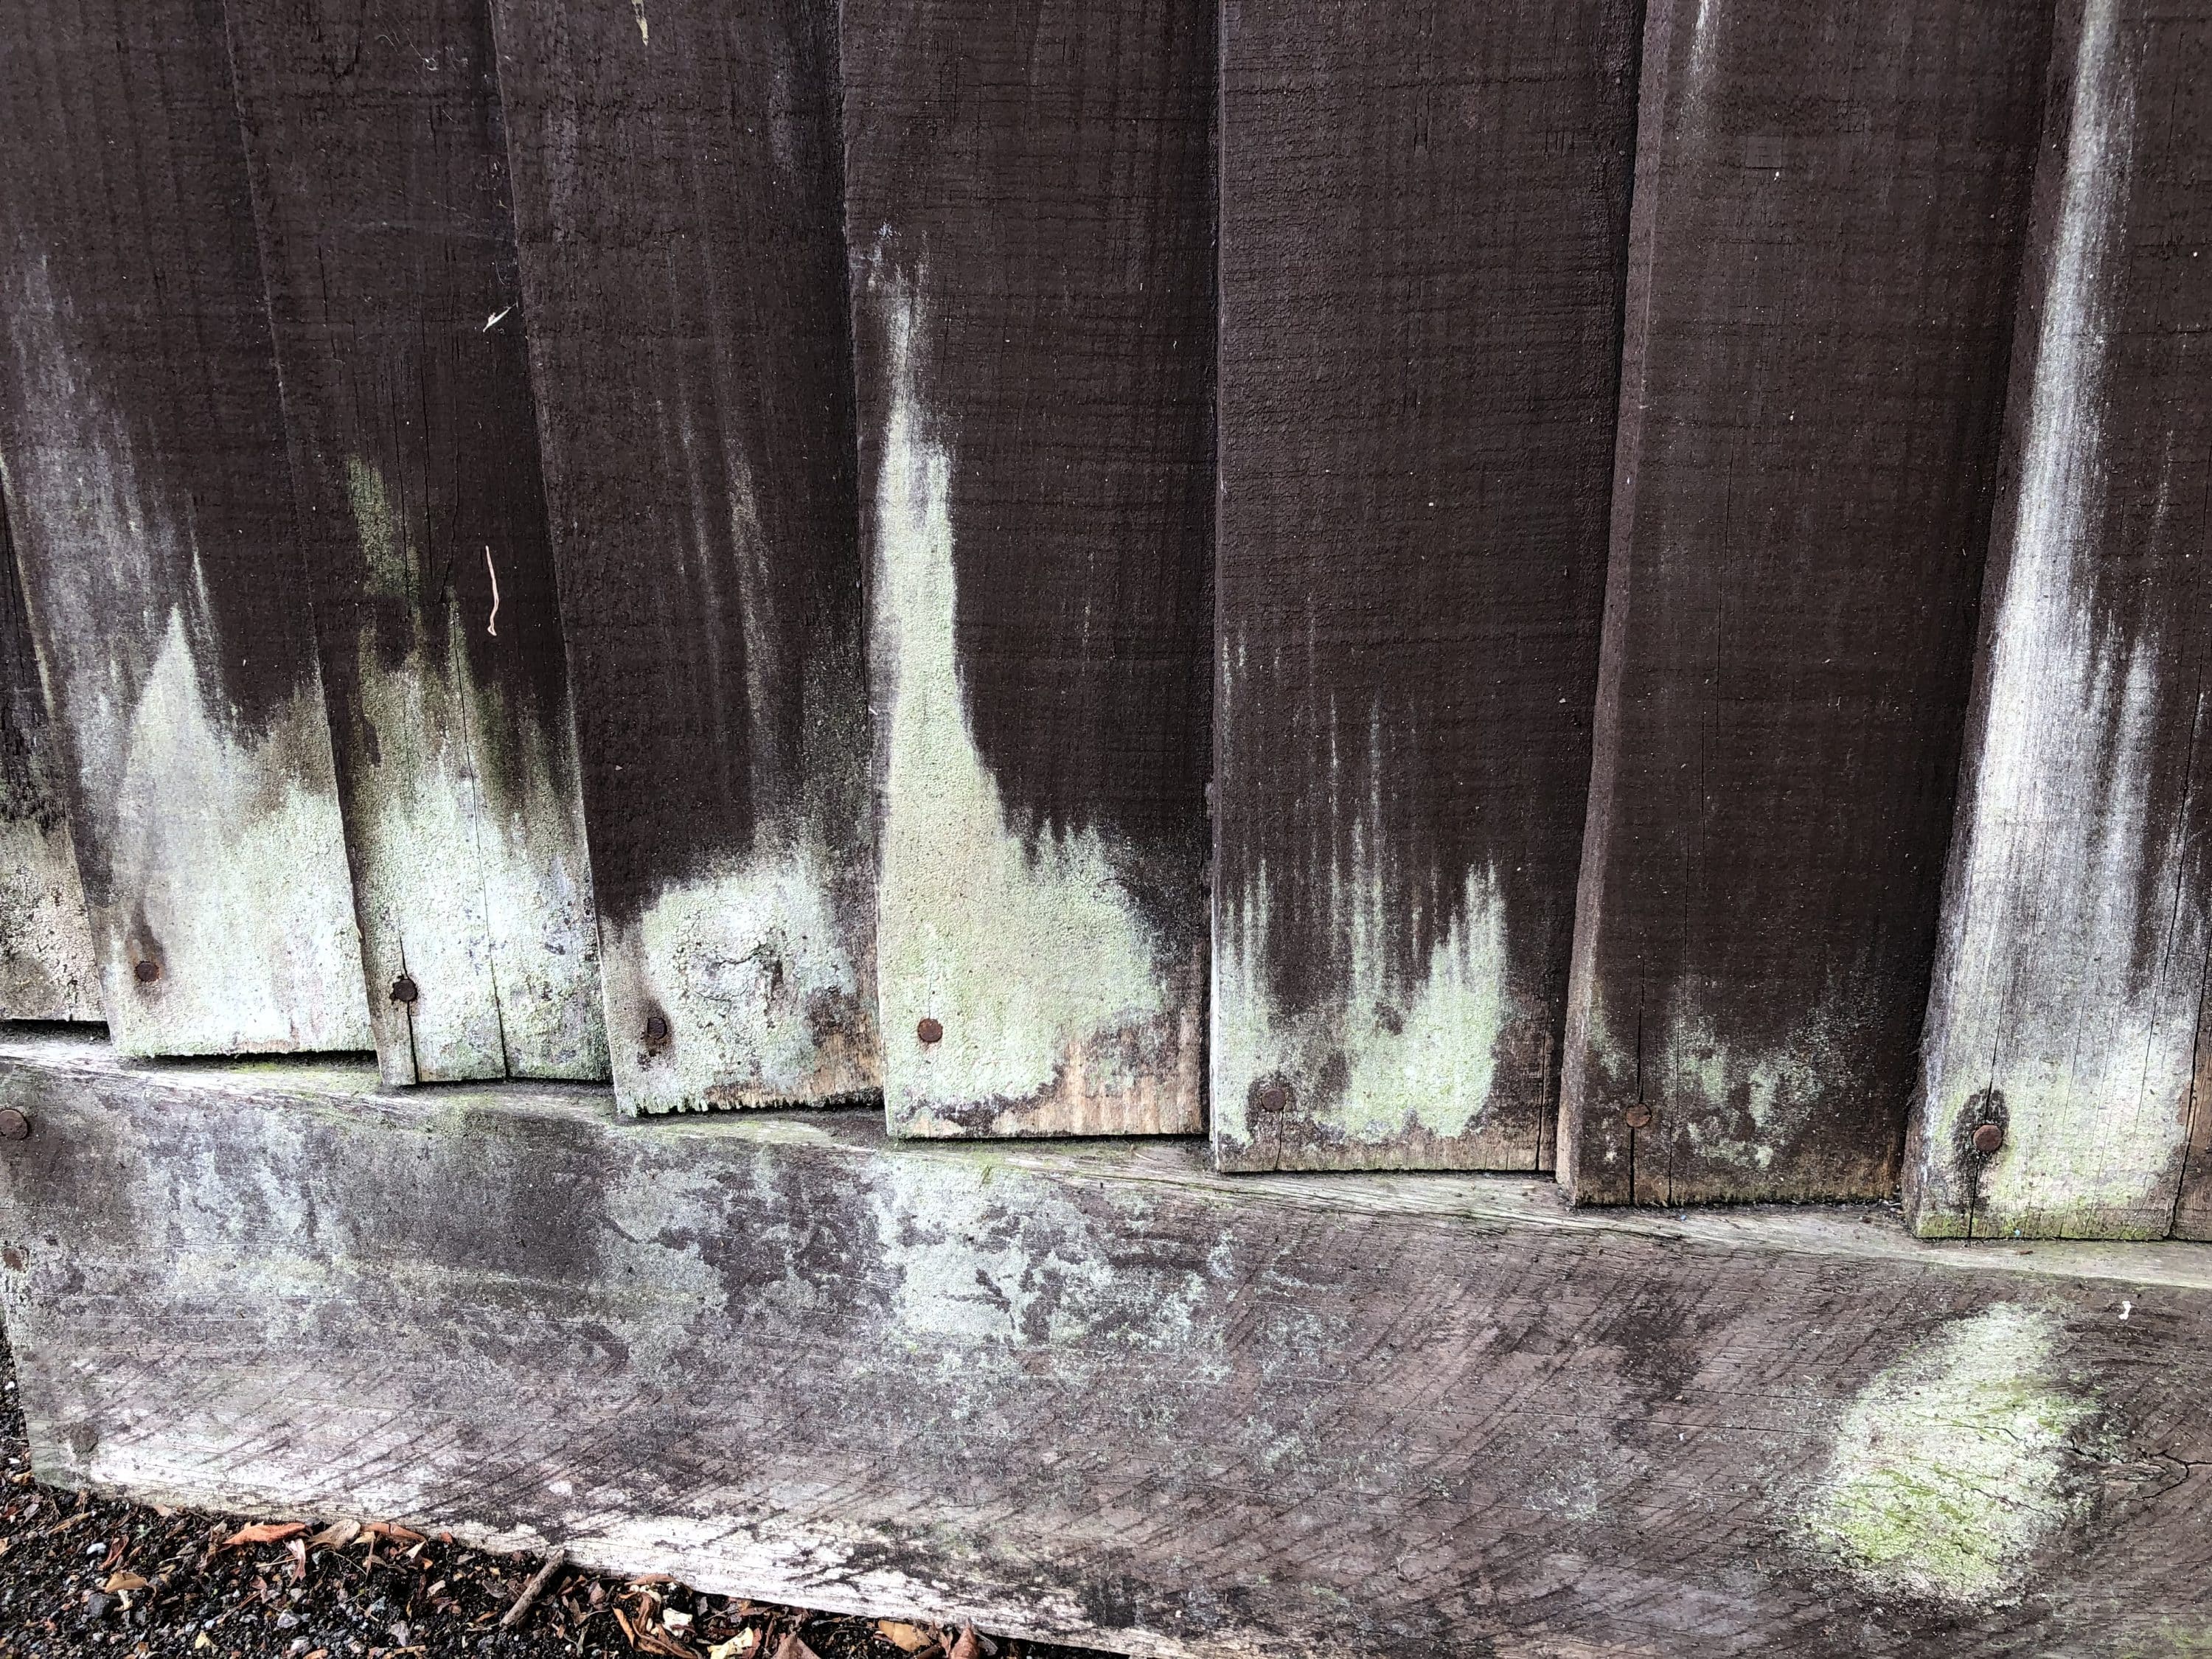
Missing out this vital step really sets you up to fail, because no matter what paint/stain/wood preserver you choose to paint your fence with, it needs to bond to the fence. It simply can’t do that if there’s a layer of dirt, dust, pollution, cobwebs, bird droppings, algae, moss and/or lichen in the way.
As I said, it’s an easy – if not terribly exciting – job to do. In this blog, we’ll take you through a step-by-step process for cleaning your fence, and removing organic materials such as algae, prior to painting.
Why is it Important to Clean Your Fence and Remove Algae before Painting?
The primary reason for cleaning your fence prior to painting it is that this will help your paint (or stain or whatever) to adhere better to the fence. If your coating sticks better to the fence, it will last longer before it peels or flakes off. This means that your fence remains protected for longer, will last for longer, and won’t need maintenance as frequently. So, spending a bit more time doing the job properly in the first place will save you time and money in the long term.
Secondly, contaminants such as moss, algae and lichen can often hide what is going on beneath them; when they are removed, you may find that parts of the fence that need repair, that you might not have noticed if you had just painted over the top. Making repairs sooner rather than later is always sensible, before the damage gets to the point where it is better to just replace that fence panel.

Tools and Materials you will need for Cleaning your Fence
- Garden hose or pressure washer
- Scrubbing brush, scraper or wire brush
- Sandpaper
- Bucket of mild detergent solution
- Fungicidal Wash
- Old paint brush or garden sprayer
- PPE – disposable gloves, goggles
Step by Step Guide
Clear the area
This makes it easier for you to work, and also protects plants in pots, garden furniture etc. Clear anything that you can out of the way. Cover/protect any plants or other items that can’t be moved.
Hose down
A quick but thorough “once over” with a hose or pressure washer will remove most dirt, dust and airborne pollution that has built up on the fence. If you are using a pressure washer, make sure the pressure is set quite low, to avoid the risk of damaging the fence.

Remove Algae
Remove obvious growth of algae, lichen and moss using a wire brush or scraper. Then give these areas a good scrub with a scrubbing brush and mild detergent solution. If there is any existing paint or stain on the fence which is flaking or peeling, scrape this off and sand the area to ensure that any loose material is removed.
Apply fungicidal wash
Put on your PPE (you don’t really want this stuff on your skin or in your eyes) and apply the fungicidal wash carefully to the areas where moss, lichen and algae were growing. You can do this with an old paint brush, or for larger areas use a garden sprayer.
Take care not to drip or spray any onto nearby plants; if this happens, rinse immediately with clean water. Some fungicidal washes then need to be rinsed off after a period (in which case repeat Step 2, above); others are “no rinse” formulations that you simply allow to dry naturally and then paint over.
Also, many of them are concentrated and need to be diluted. Check the instructions on the packaging. Also check the weather forecast before carrying out this step, to ensure that no rain is forecast – you don’t want the fungicidal wash being rinsed away by a sudden shower before it can do its job.
The best fungicidal wash I’ve used is GK Concentrated Fungicidal Wash (available online here). It works well and you don’t need to rinse it afterwards.

Allow to dry completely before starting to paint
Check over the fence thoroughly, and if you have missed anything, repeat any of the above steps as necessary to clean those specific areas. Do not underestimate how long it will take for your fence to dry out – if you have followed all the above steps, it could take 48 hours to dry properly, depending on the weather.
It’s important that the fence is properly dry – trapping moisture in the wood won’t help your paint to adhere and could potentially increase the risk of rot.
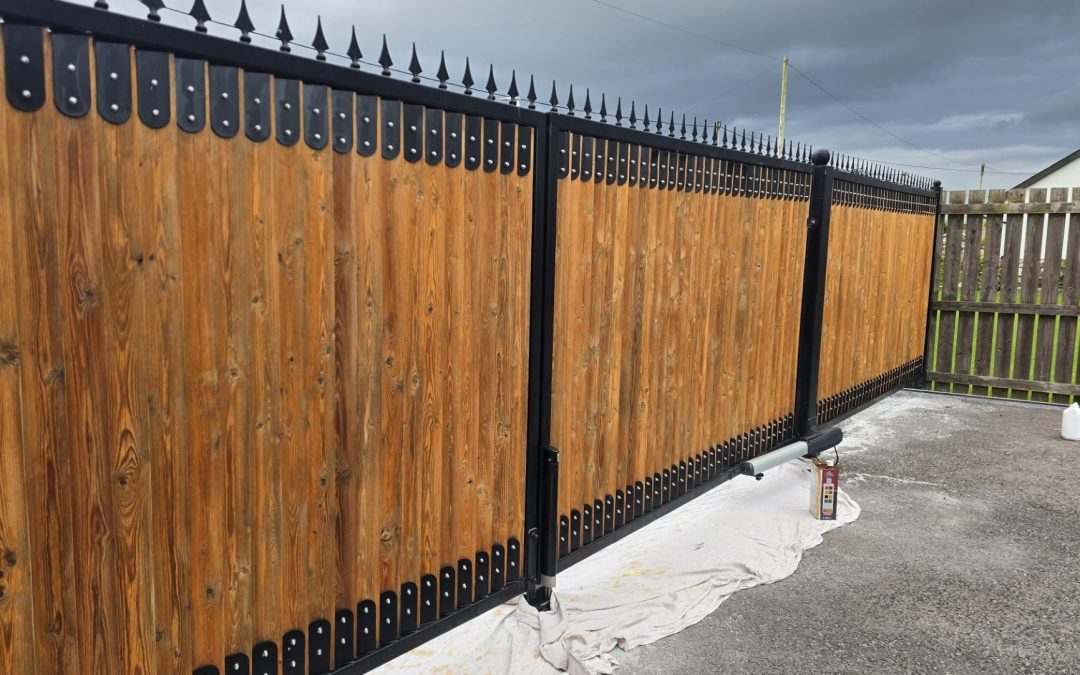
Your fence is now ready to paint! Again, check the weather forecast before starting, to make sure the job is carried out on a dry, warm day.

FAQs
How long do I have to wait to stain my fence after pressure washing it?
Using a hose or pressure washer is a great way to remove dust, dirt and grime from your fence, but it does result in the fence absorbing a lot of water. You will need to wait 2-3 days (depending on the weather) to allow the fence to dry out thoroughly before applying any paint, stain or preserver to it.
Do I need to pressure wash my fence before painting it?
You can manually clean your fence using a scrubbing brush and mild detergent solution, but it will take a lot longer to do. Using a pressure washer (or hose) on low pressure is the quickest way to clean off most dust, dirt, pollution and loose material. If you have algae, lichen, moss or mould growing on your fence, you will also need to treat these areas with fungicidal wash in addition to pressure washing; if left untreated, algae etc will just grow back.
What happens if I paint/stain my fence without cleaning it first?
The problem with doing this is that the paint or stain can’t make a proper contact with the fence and so doesn’t adhere properly to it. In time, the paint or stain will therefore peel away, leaving unsightly patches (which don’t have the proper protection). Things like algae, moss and lichen will just carry on growing beneath the paint/stain and will re-emerge in the future. It’s worth the time and effort to do the job properly.


0 Comments