



I’m about to explain everything you need to know about how to paint a ceiling, from technique, to tools and materials.
I’ll be honest, I have absolutely no idea how many ceilings I’ve painted over my time as a professional decorator – certainly hundreds, if not thousands. It’s one of those jobs that customers often don’t like doing themselves, because they either get covered in paint, or pains in their neck/back, or both.
It’s also one of those jobs that people don’t think about so much; they’ll spend hours looking at colour charts to decide the perfect shade for the walls, but when asked about the ceiling often respond with “Oh, do you think it needs doing?”.
A well-painted ceiling, while rarely the focal point of the room, can make a massive difference, and can certainly enhance the appearance of a room.

Shopping List
You will need the following items to help with painting your ceiling:
- Dust sheets or other protective coverings to protect the floor and any furniture that cannot be moved out of the room – Click here to see online prices.
- Paint Brush (size will depend on personal taste, more on this later) – Click here to see online prices.
- Roller – sleeve, frame and pole (as a rule, the bigger the ceiling, the bigger the roller, so that you can cover a large area quickly) – Click here to see online prices.
- Paint scuttle or tray
- Stepladder or hop-up
The Best Way to Paint a Ceiling
Quickly! That was one of the first things I learned when I started out – do not hang about when you’re painting a ceiling, otherwise your “wet edge” will go tacky, and if the light catches it when it’s dry, the surface will look patchy.
So that’s the first thing I’d say – make sure you have everything you need at hand, and crack on with it!

Room Protection
Remove everything you can from the room. This both ensures that valuable items don’t get splattered with paint, but also makes it easier for you to move around the room safely without bumping into things. Cover the floor and any immovable furniture with dust sheets (or similar).
Prep Ceiling Lights Etc.
Remove lamp shades. Unscrew ceiling roses so that there is no risk of getting paint on them. If larger ceiling lights can’t be removed safely, wrap them in plastic (but then remember not to switch the lights on!) and tape around the parts that meet the ceiling. Some spotlights unscrew, some have removable covers, some can be pulled down half an inch and held away from the ceiling with Spot Drops, which are a handy little tool available online here. The same rules apply to smoke detectors etc. The objective again is to reduce the risk of getting paint where you don’t want it.
Problem Solve
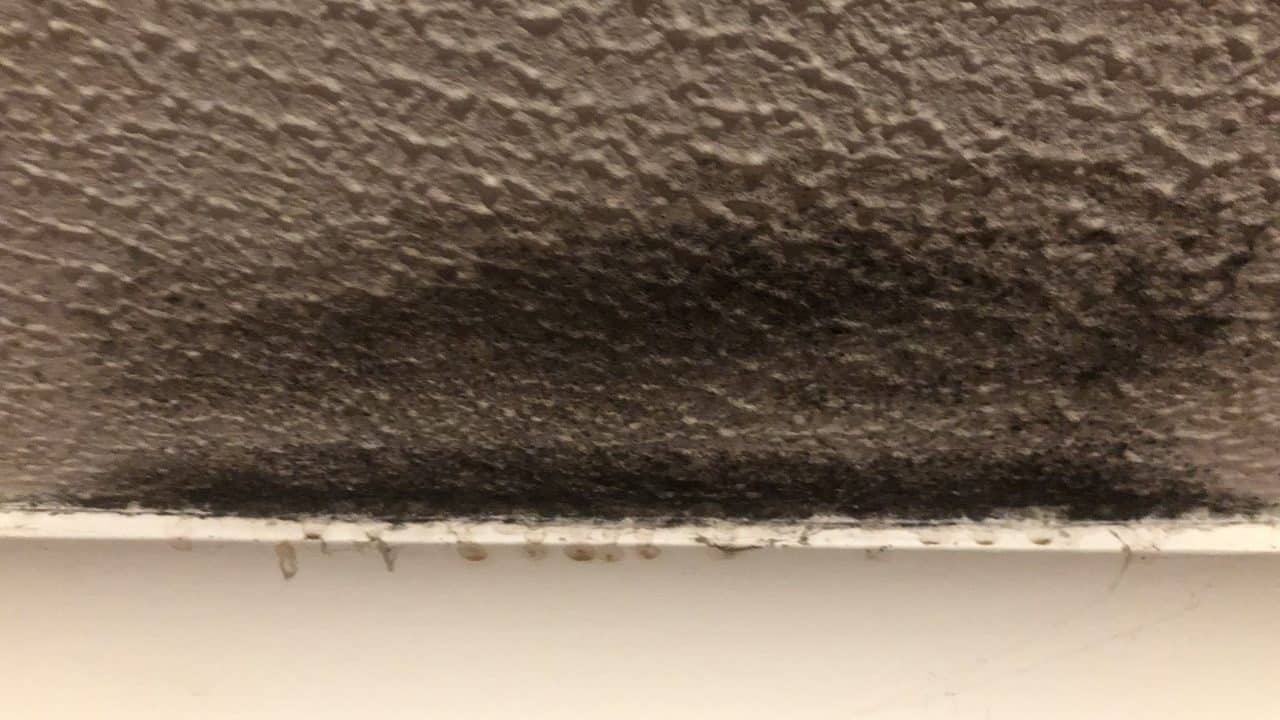
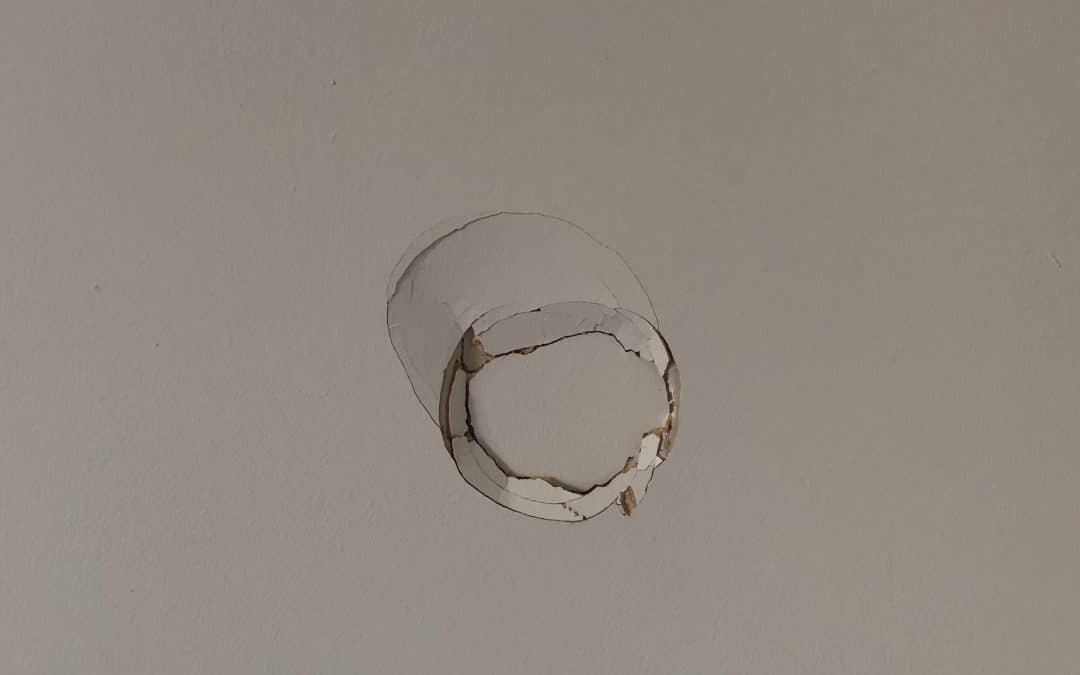
Rake out and fill any cracks; allow the filler to fully cure, then sand smooth. If there are any areas of mould, treat as described in this separate blog.
Similarly, any water stains should be treated as described here.
Cut In
Using your paint brush, cut in all around the room where the ceiling meets the walls. If the walls are going to be painted too, it doesn’t matter if the ceiling paint comes down the wall slightly. If present, I usually paint the coving first and then cut in the edge of the ceiling. Cut in around any light fittings, smoke alarms etc. If you find your paint drags and is hard to apply, you may dilute it slightly with clean water.
Roll
Start in a corner near the biggest light source – this will usually be the biggest window in the room. If there are multiple windows, I tend to start from one that faces south, as that’s where most light will come from. Work away from this light source, finishing in the corner opposite where you started. This allows better visibility of what you have painted, so it’s easier to spot any imperfections or if you have missed a small area.
Standing slightly behind the area you are rolling helps with visibility too, as well as reducing the chances of you getting paint all over yourself.
Use a roller pole
It’s so much faster, you will never be able to paint a ceiling evenly holding the roller frame in your hand and trying to move your steps round the room. Using a pole also makes it easier to see where you have (and haven’t) painted.
Apply a Second Coat
Once you have finished the first coat on your ceiling, allow it to dry thoroughly (follow the instructions on the paint tub), and then apply your second coat, repeating steps 4 and 5 above.
A Video Demo
Tips for Ceiling Painting
Professional Decorator Mike Cupit shows how to paint a ceiling.
Best Paint to Use on Ceilings
Ceiling paints have changed a lot over the years. In fact, the term “ceiling paint” is a relatively new one. When I started out as a painter and decorator, people didn’t care which emulsion they used.
Now it makes a big difference. Paints have changed a lot, and modern wall emulsions can show defects like flashing and picture framing when used on ceilings, particularly in open-plan rooms or rooms with a lot of natural light. Specialist ceiling paints are low sheen, which not only reduces defects, but also leaves you with a soft, luxurious feel. Using a good ceiling paint will make a big difference to the quality of finish you achieve. I’ll give you my three top picks.
Juno J33 OPAK
This is one of the best ceiling paints I’ve ever used. You need to dilute Juno J33 quite a lot before its first use to loosen it up, meaning you end up with more paint than you started with.
It flows well, shows no defects, has fantastic opacity, leaves you with a gorgeous finish and, as with all Juno products, comes with anti-mould and fire retardant properties as standard. J33 can be tinted too, whereas a lot of the other ceiling paints are only available in white. J33 can be tinted too, whereas a lot of the other ceiling paints are only available in white.

Dulux Trade Ultra Matt Ceilings
I’ve been using a lot of Dulux Trade Ultra Matt over the past year or so. The best thing about it is how well it flows – it’s genuinely lovely to use, particularly on the second coat. It holds up fairly well to steam, etc., so it’s great in a kitchen, as well as just about any other room.
Dulux Trade Ultra Matt Ceilings is whiter than most of the other specialist ceiling paints on the market. A lot of my customers still want a “Brilliant White”, so this is the perfect choice. As with the Juno J33, the finish is gorgeous and it leaves no defects.

Crown Trade ExtraMatt
I thought I’d include a cheaper option. Crown Trade ExtraMatt is essentially a contract matt, so it remains porous and can drag a little bit on the second coat. The opacity isn’t amazing either, so if you’re going for a colour change, then it may take an extra coat.
However, Crown Trade ExtraMatt is a lot cheaper than my other two recommendations, you won’t see any flashing or picture framing, and the finish is spot on.

Best Tools to Use when Painting Ceilings
Brushes
I tend to use a larger brush when cutting in ceilings than I would on a wall, especially if the walls are going to be painted afterwards as well. If there’s only an inch of paint around the outside of the ceiling, it’s less easy to roll accurately (at speed), but if you’ve cut in with a larger brush (I tend to use a ProDec Ice Fusion brush) there’s less chance of areas being missed between the cutting in and the rolling. Click here to see online prices.
Rollers
As mentioned earlier, the bigger the room, the larger the roller (unless there are hundreds of spotlights in the way) is a good general rule; it allows you to get the room painted faster.
A medium or long pile sleeve is good as it allows you to get more paint on the ceiling, rather than a short pile one, so you can work faster. On textured ceilings, long-pile is a must to ensure all the lumps and bumps get covered evenly. I often use Purdy Colossus sleeves on ceilings, but you will need to de-lint it first. Click here to see online prices.
Final Thoughts
So, there you go – hopefully that’s everything you need to know to paint a ceiling and get it looking pristine! I think half the battle is having the right tools and using the correct paint. A cheap contract or retail matt will drag, and you’ll see roller marks in your finish. Whereas a low sheen matt emulsion applied with a good quality roller will not show a single defect.

FAQs
When painting a ceiling, where do you start?
You should always start at the biggest light source when painting a ceiling, particularly when rolling. This is so you can look back towards the light source and spot any misses or heavy roller marks that you wouldn’t spot otherwise.
What is the trick to painting ceilings?
The biggest trick is to use a roller pole and a good quality ceiling paint. Do these two things and painting your ceiling will be far easier, and you’ll achieve a better finish.
Is it better to paint a ceiling with roller or brush?
You need both ideally. Use a brush to cut in around the edge and lights etc. Then use a paint roller to fill in. This enables you to keep a wet edge.
How to fix painting mistakes on a ceiling?
Paint touch-ups can be seen a mile away on a ceiling unless you’re using a premium quality paint, particularly on large ceilings in rooms with lots of natural light. Sometimes it’s better to dilute your paint, and then roll the whole ceiling again.
How many coats of ceiling paint do you need?
You usually need two coats of paint on a ceiling. Bare plaster sometimes takes a primer, followed by two topcoats. Previously painted ceilings sometimes just need one coat to freshen them up.
Is painting a ceiling difficult?
If you have the right tools, then painting a ceiling is not difficult. This blog explains everything you need to know about how to paint a ceiling. Just follow these steps and you won’t go wrong.











Thanks for this advice. I was looking for info on Albany AF1 ceiling paint & found you. Im a DIYer & have used a retail paint like Magic White in the past (goes on slightly pink do you can see where you’ve been!) but haven’t been impressed by my best efforts. So off tomorrow to Brewers! Best wishes to you